The Step-by-Step Guide to Create Your First Product in Shopify
by
Mandy Hom
Last updated:
July 09, 2019
So you have decided to do something new and exciting: open an eCommerce store on Shopify. It might sound scary for those who are not technologically savvy or do not know where to start. And that is okay! Instead of letting the learning experience become daunting, there are many Shopify experts, resources, and Shopify tips out in the Internet world that can help you along the way.
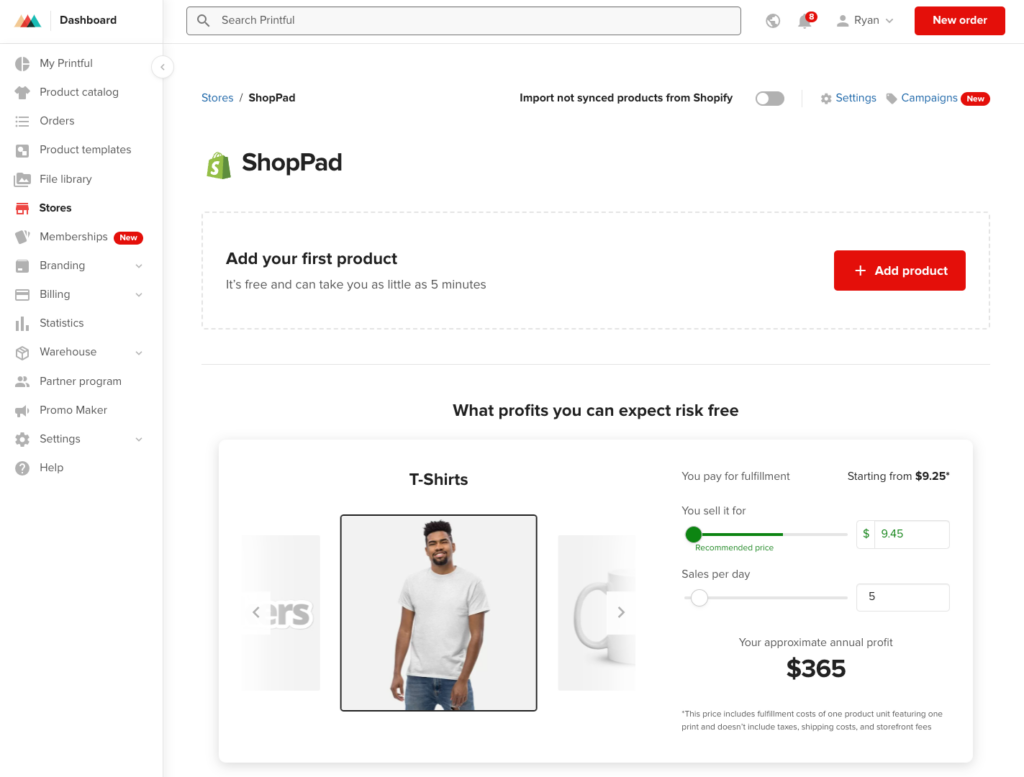
The first step towards managing an eCommerce store is to create your first product. With that said, you may or may not already have an idea for your product. If not, you could learn how to use Printful to make a fully automated Shopify store. Once you’ve got a product, you need to list it in your store.
Let’s go over what it takes to create the very first product in your store step-by-step:
Try MESA free for 7-days and enjoy support from automation experts!
Topics:
How to auto add Shopify product
Automating product addition in Shopify stores, especially when integrating with a service like Printful, offers significant time-saving and efficiency benefits. This automation minimizes manual input, allowing for bulk uploads and quick updates, which is particularly valuable for stores with large or frequently changing inventories. Moreover, it enhances accuracy and consistency in product listings, reducing the likelihood of errors like incorrect pricing or descriptions. This level of precision is essential for maintaining customer trust and satisfaction.
The scalability aspect of automation is a key advantage. As your business expands, the process of adding new products remains streamlined, whether you’re adding a few items or several hundred. Integration with fulfillment services like Printful ensures seamless addition of new products and real-time inventory management, preventing issues like overselling. This integration not only speeds up the product launch process but also improves the overall customer experience by keeping the store updated and engaging.
In essence, automating product addition in Shopify stores leads to increased operational efficiency, better customer engagement, and supports informed decision-making, all crucial elements for the success and growth of an ecommerce business.
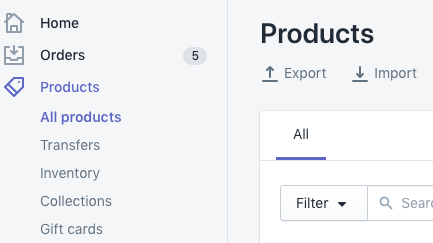
Step 1: Go to the Products section on your Shopify Admin.
Navigate to the Products section via the side menu.
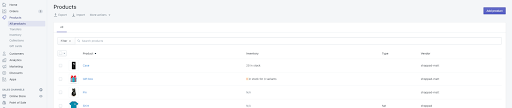
Here, you’ll click on the Add product button (the purple button at the top left).
Once you are on this page, you will see a lot of information that has yet to be filled. You do not have to fill out every little detail in order to add a product. As you take a look at the page, you will fill out the following information:
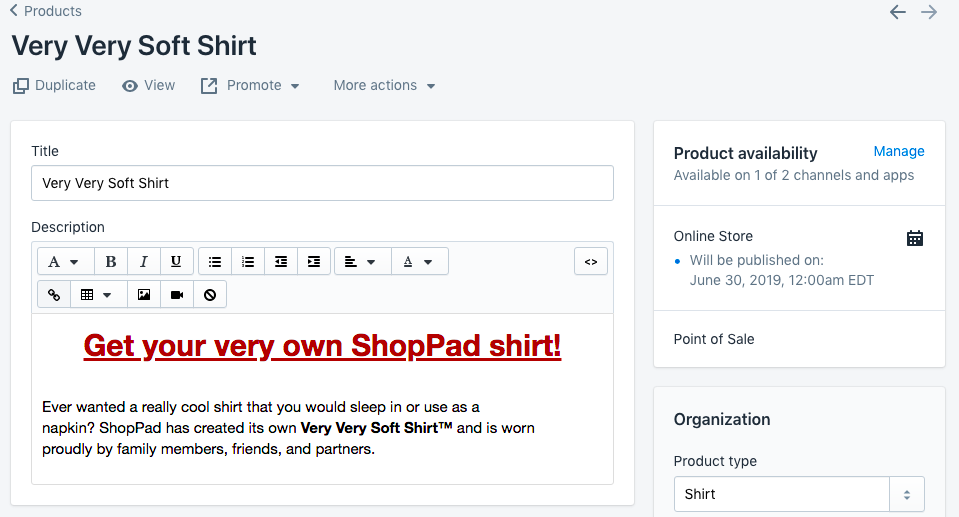
Step 2: Add a Title.
Your product’s title is a good place to add keywords to help improve your SEO. If you don’t know already, SEO (Search Engine Optimization) is a way to increase the visibility of a page on a search engine. (If you want to learn more about that, this piece by Moz is the perfect starting point.) By placing some keywords into your product’s title, potential customers will have a higher chance of finding your product on Google. The title will also appear in your store as well.
Step 3: Include a Description.
Your product’s description is the best way to explain and sell your product to your target audience and grab their attention. Shopify has provided a rich text editor so you can customize your description.
If you are unfamiliar with any of the icons on top of the textbox, you can hover over the icons and read the icons’ descriptions.
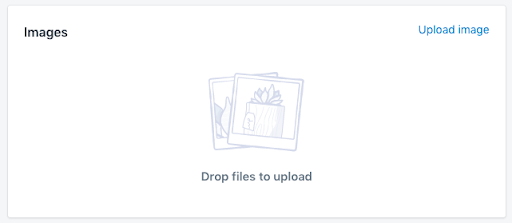
Step 4: Add Images.
The very first image that you upload will be the product’s main image. You can simply click on Upload Image in the top right-hand corner.
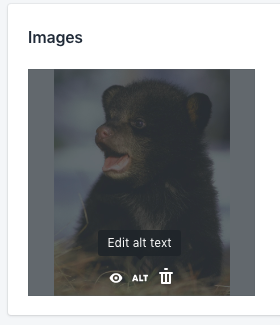
Once you upload an image, you can hover over the image and find more settings: Preview, Alt Text, and Delete.
Don’t forget your image’s Alt Text. This useful field allows you to add a description for customers that are visually impaired. It is another way to improve your SEO, as it makes the images crawlable for Google.
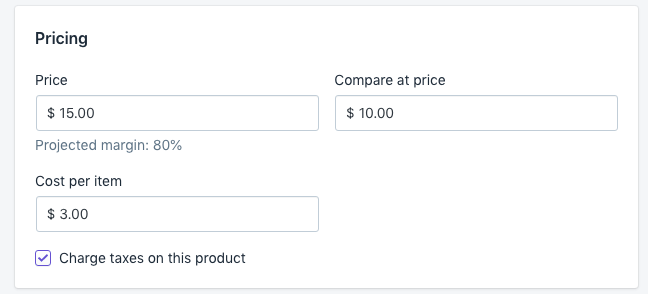
Step 5: Include Pricing.
There are a few options you can use to enter your pricing:
Compare At Price: An optional field to grab your customer’s attention by telling them that your product is on sale. On your product page, there will be a for-sale price and an original price that is crossed off. This can influence your customers into thinking that your product is on sale for a limited amount of time. Therefore, they should purchase your product right now before your product is sold out.
Cost Per Item: This is how much the product is costing you to make and ship. This is simply an internal way to keep track of your product’s cost.
Step 6: Enter your Inventory.
This one’s simple: it’s where you are able to keep track of inventory. So make sure you enter the right amount of the product from the beginning.
Step 7: Add Shipping Details.
This section enables Shopify to calculate a customer’s shipping automatically, so you don’t have to get on and manually calculate shipping costs everytime a customer makes an order. You’ll see the following sections available:
Physical Product: Unselect the checkbox if the product is digital or does not need to be shipped
Weight: How much your product weighs. You can set the weight as pounds (lb), ounces (oz), kilograms (kg), and grams (g).
Country/Region of origin: The location where your product is manufactured or created. If you are shipping a product internationally, the shipping cost might include duties.
HS (Harmonized System) code: If you wish to sell this product overseas, you will need to enter a harmonized system code. By doing this, the appropriate tariffs will be applied to the customer’s order.
Fulfillment Service: If you are not using a fulfillment service, you can just select Shopify. However, if you have a fulfillment service, you can add one by going to Settings (from your Shopify Admin) → Shipping. Then, scroll down until you see Custom Order Fulfillment and click on Add Fulfillment Service. Discover fulfillment workflows to help streamline this process.
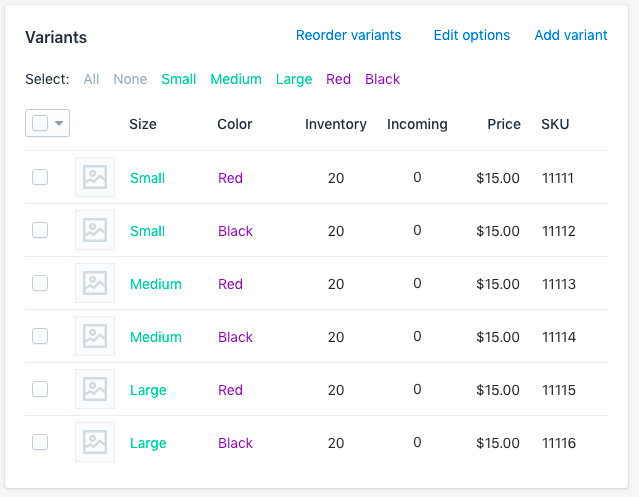
Step 8: Enter Variants.
You can create up to one hundred variants that will allow you to sell different combinations to your customers. Also, you can create up to three different options for the same product. For example, the product can have different attributes: sizes, colors, and weight. Then, you are allowed up to one hundred different combinations among the different sizes, colors, and weight.
To have more than one hundred variants, you will need to look into third-party applications. We’d suggest you use our app, Infinite Options, which is the most popular product option app on Shopify. You can also take it a step further with MESA and truly automate any product on your page.
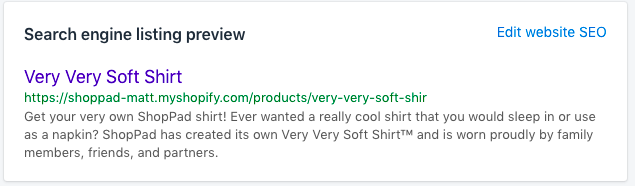
Step 9: Create a Search Engine Listing Preview.
Throughout this guide, we have talked about SEO numerous times. Well, here is a helpful tool to customize the preview of your product in a search engine’s results. Click on Edit Website SEO to view your options: Page Title, Meta Description (your product’s description), and the Product’s URL.
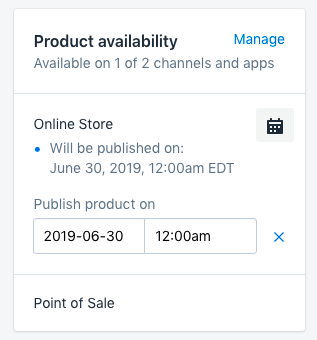
Step 10: Enter Product Availability.
Product availability is useful for those who sell on multiple platforms (also known as sales channels). You can decide on whether you wish to sell your particular product on selective channels or if you want to sell the product at a certain time.
To publish the product at a later time and date, click on the calendar icon. This is most commonly used when you want to release the product at a certain time (like an anticipated and big release) or you just simply do not want to forget to publish the product in the future.
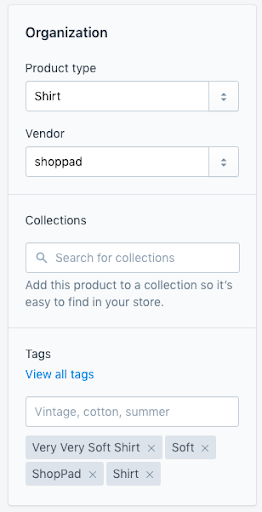
Step 11: Set Up Your Product Organization.
Your products can be orders in a variety of methods.
Product Type is a way to categorize your product. To create a product type, simply enter the text in the textbox and click on Save. Existing product types will auto populate under the text that you have entered.
Vendor is your product’s vendor, wholesaler, or manufacturer.
Collections are groupings of products. You can add your product to a manual or automated collection. An automated collection will look out for products that meet the collection’s conditions. Click here is more information about automated collections.
Tags allow you keep organized on your backend by enabling to search for products in related groups.
Your First Product is Now Complete
That is all you need to create products on a Shopify store. You now have the ability to create your entire collection of products! If you have any questions or want some advice, feel free to join this free community full of eCommerce Experts.
Selling on Etsy? Managing data between Shopify and Etsy is a smart business decision.
Whenever you’re ready…here are 4 ways MESA can help you get more done:
Sign up for MESA. The best way to get started is sign up for MESA today. Every plan includes the first 7-days free so you can be assured your workflow is running properly.
Browse pre-made templates. Our customizable workflow templates are a great way to get started more quickly.
Talk to our automation experts. If you need help personalizing any workflow template, guidance how to make any automation or, simply want us to make your workflow, we can help.
If you know another merchant who’d enjoy reading this page, share it with them via LinkedIn, YouTube, Twitter, or Facebook.