Delivering Happiness: Workflows for the Best Post-Purchase Experience
by
Jen Sparks
Last updated:
June 05, 2020
Shoppers say that delivery is the most important part of the online shopping experience. That makes it extremely important to get your fulfillment workflows right. In this guide we will take you through the steps to add customizable workflows using MESA to improve your post-purchase experience for customers of your Shopify store.
Try MESA free for 7-days and enjoy support from automation experts!
Topics:
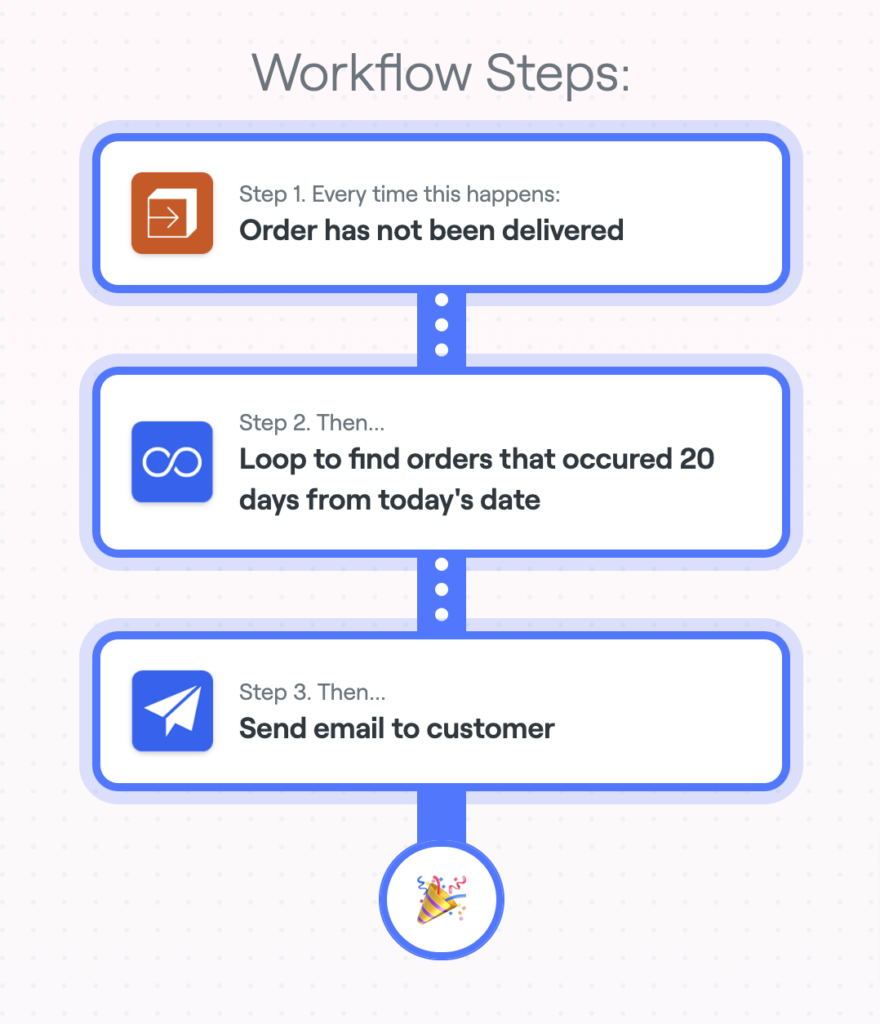
Send an email if a package hasn’t been delivered
75% of ecommerce customers say that proactive communication is a crucial part of the delivery process. Delivery of the package is an excellent time to provide an update. Better yet, setting up a workflow in MESA to notify customers that their package has been delayed is simple, so you can have it up and running in seconds.
For Shopify stores that have custom steps in their fulfillment process, such as printing photos for an order, MESA can automatically update your order statuses so your customers can stay up to date with where their order is.
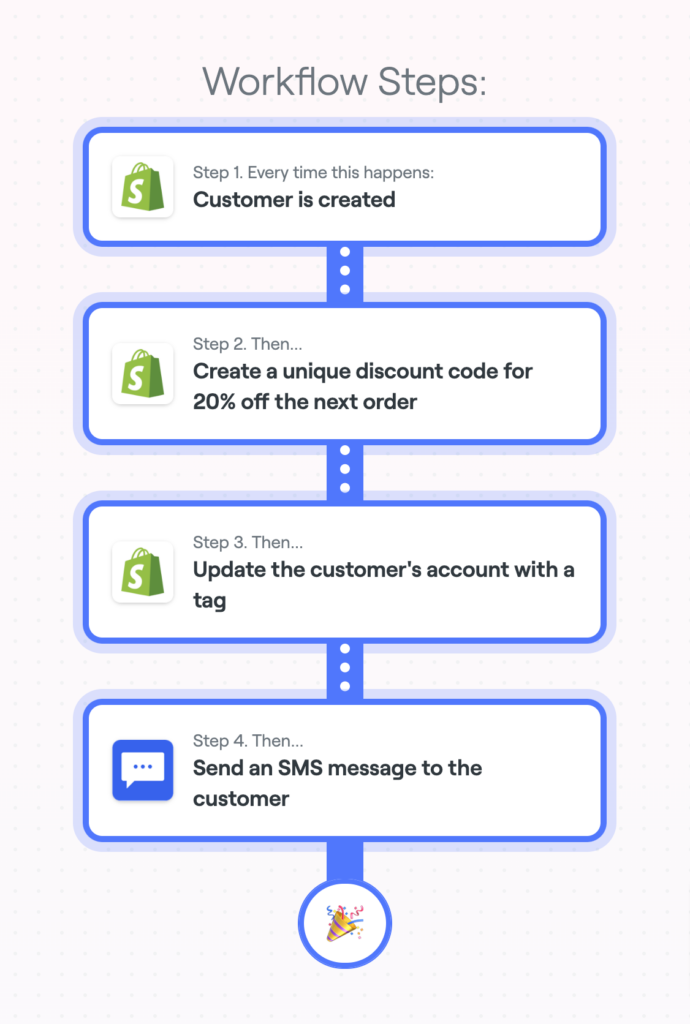
Create a unique discount code for new customers to apply towards their next order
Welcome your newest customers and encourage repeat business by offering them a discount on their next order. With this customizable template, you can create unique discount codes for each new customer to your business. When they become a new customer in Shopify, they’ll automatically receive an SMS message with a discount code for 20% off the next order they place within 14 days.
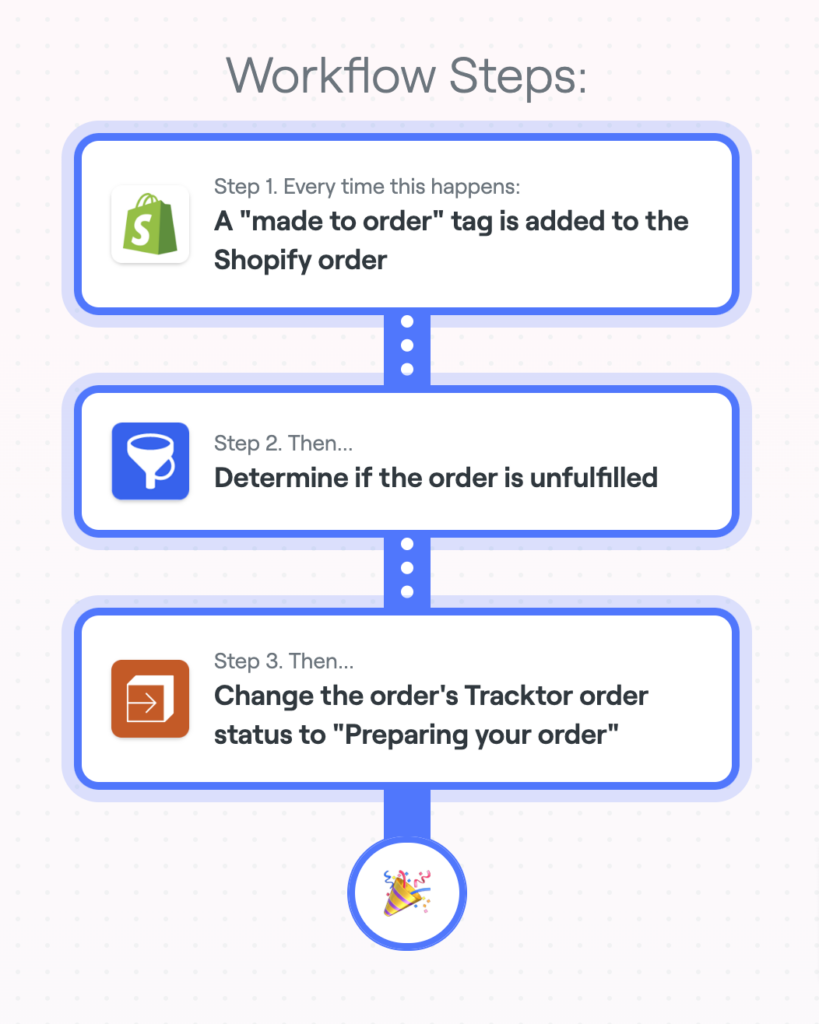
Update order status when an order tag is added in Shopify
If your order fulfillment process differs based on the item(s) ordered, you’ll need to use different order statuses in Tracktor for orders containing certain items. MESA can automatically choose these statuses for you. I’m going to show you an example workflow that chooses the status Preparing your order for orders with items tagged Made to order.
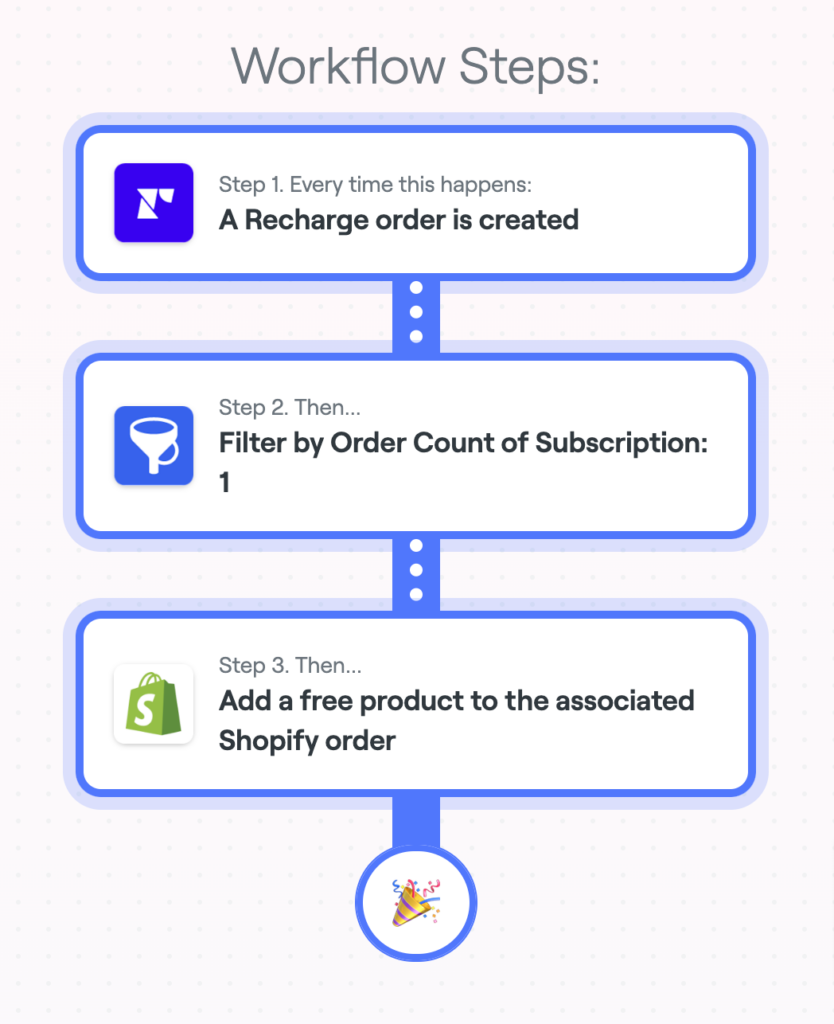
Add a free product to a customer’s first Recharge order
Welcome new customers to your business with something special in their first subscription order. This template will add a free product to a customer’s first Recharge order. It’s a small token of appreciation that can leave a big impression on your customers.
These workflows are just a starting point. With MESA, it’s easy to combine multiple automations together or extend them to create unique capabilities. Master productivity instantly by automating any repeatable task or process with the ease of MESA’s point-and-click setup. Our Customer Success team is available to help set up and configure any workflows so you can get more done today.
What you should do now
Whenever you’re ready…here are 4 ways MESA can help you get more done:
Sign up for MESA. The best way to get started is sign up for MESA today. Every plan includes the first 7-days free so you can be assured your workflow is running properly.
Browse pre-made templates. Our customizable workflow templates are a great way to get started more quickly.
Talk to our automation experts. If you need help personalizing any workflow template, guidance how to make any automation or, simply want us to make your workflow, we can help.
If you know another merchant who’d enjoy reading this page, share it with them via LinkedIn, YouTube, Twitter, or Facebook.