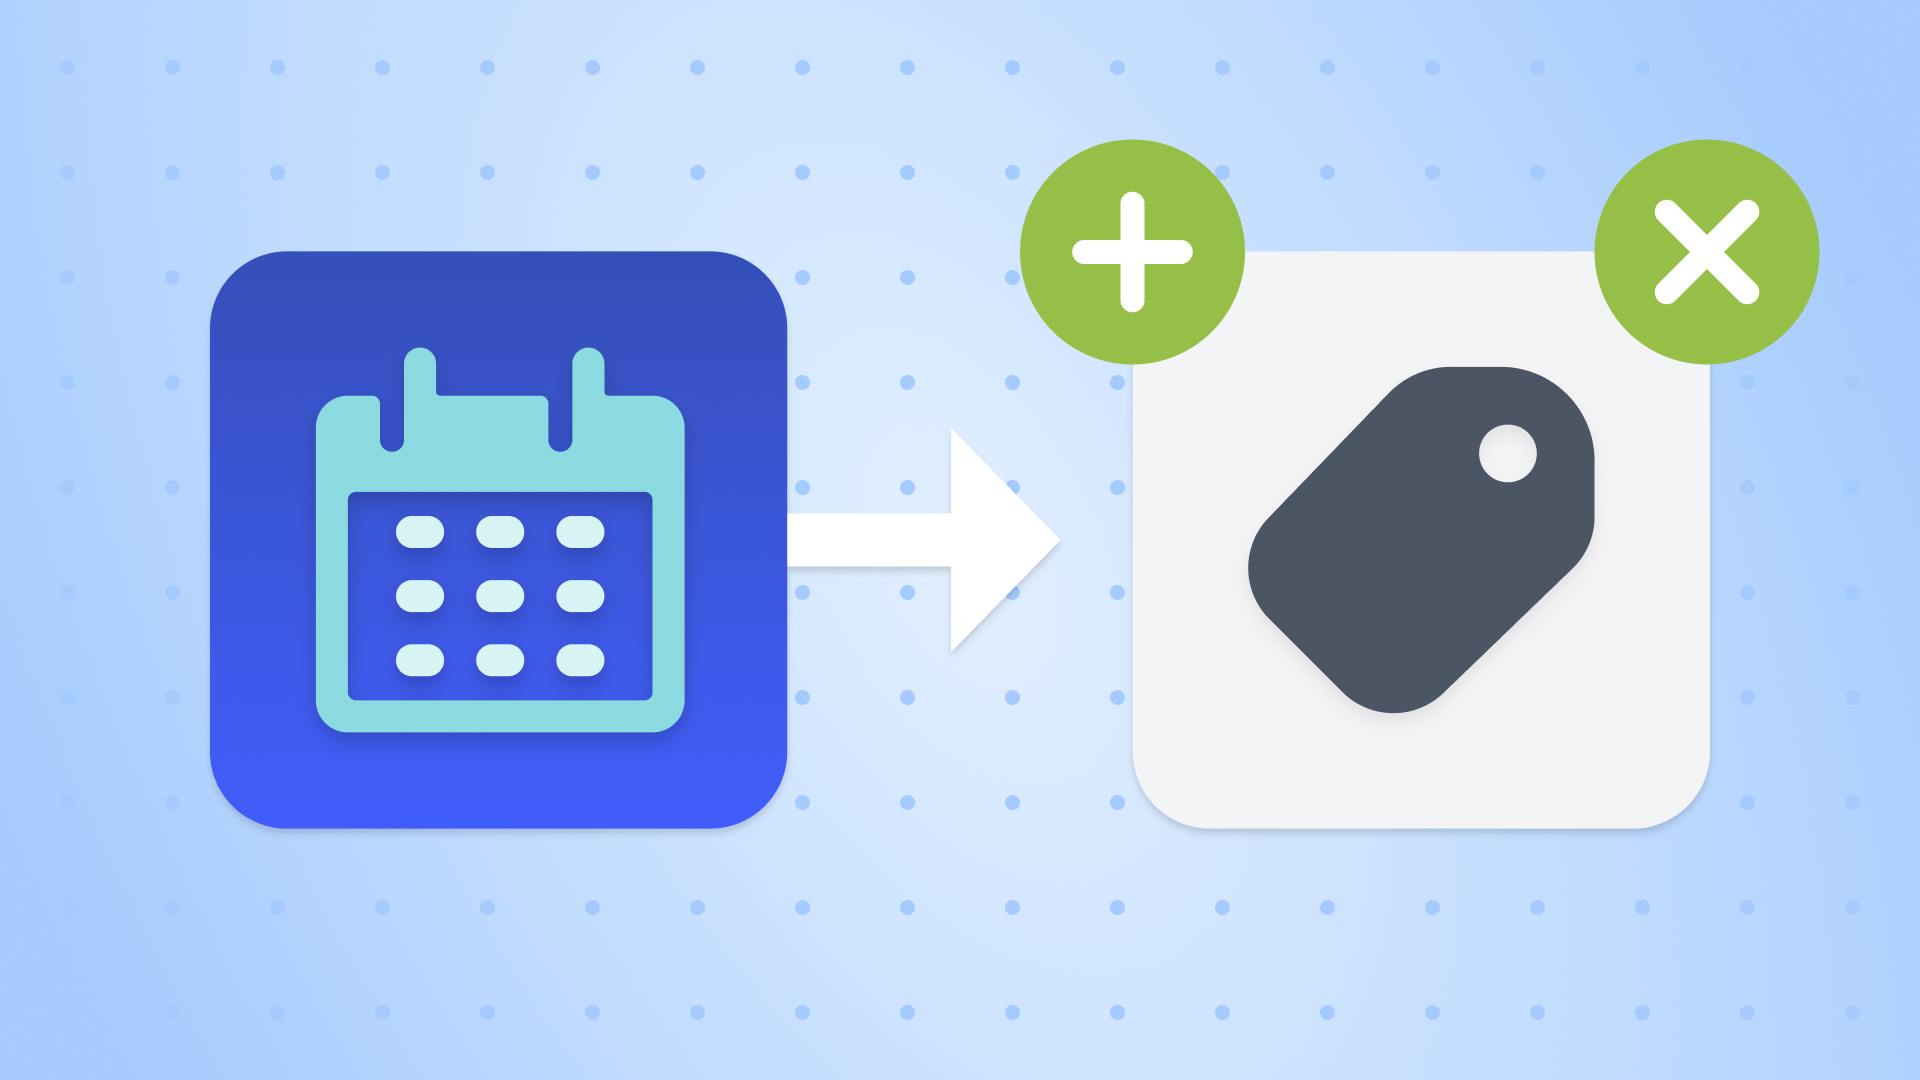
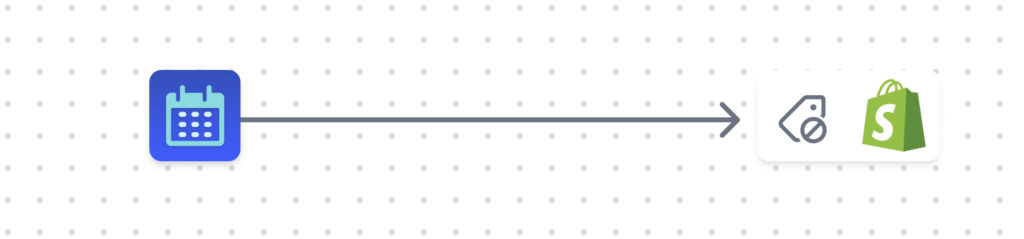
How to Schedule Shopify Product Tag Changes (Add and Remove)
-
- •
- Last updated: Jun. 15, 2026
- •
- 7 min read

Managing Shopify product tags manually is one of those tasks that sounds small until it isn’t. A flash sale ends at midnight. A seasonal collection should go live on Friday morning. A “Pre-Order” tag needs to come off the moment stock arrives. Do it by hand enough times, and you’ll eventually miss one, or find yourself setting an alarm for 11:45 PM so you don’t.
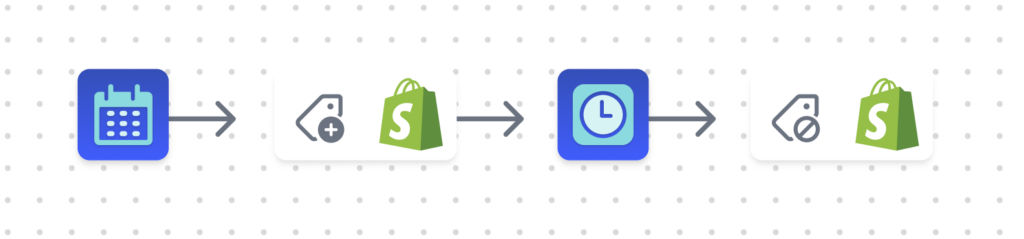
Scheduling product tag changes fixes all of that. You set the workflow once, define when tags should be added or removed and to which products, and walk away. This guide covers both scenarios, adding tags on a schedule and removing them, because in practice, you need both.
Table of Contents:
When would you actually use this?
The same core workflow handles a surprising range of real situations:
Adding tags on a schedule

- A fall collection launches Friday at 9 AM. Tag all jacket products with
fall-2025so they appear in the right collection automatically. - A flash sale starts Saturday. Tag eligible products with
flash-saleso they surface in your sale collection without any manual work at launch time. - New arrivals go live weekly. Tag products with
new-arrivalevery Monday morning so your “New Arrivals” collection always reflects current inventory.
Removing tags on a schedule
- Your summer sale ends July 4th. Remove
summer-saleat midnight so customers don’t see expired promotions. - Pre-order period closes when stock ships. Strip the
pre-ordertag automatically once products are ready to purchase normally. - A holiday promotion runs for 48 hours. Remove
cyber-mondaythe moment it ends, no scrambling required.
Both together (the full lifecycle)
- Add
holiday-giftto products on November 15th. Removeholiday-gifton January 2nd. Set it up once in October and forget it. - Add
low-stockwhen inventory dips below a threshold, remove it when you restock. (This pairs well with an inventory trigger instead of a schedule, but the same workflow structure applies.)
Can’t Shopify Flow do this?
Yes, with an important caveat. Flow does support a scheduled trigger, so for a very simple operation (one tag, a handful of products, no external systems), Flow can get the job done and it’s free.
The problem shows up the moment your catalog gets real.
Flow works at the product level. MESA works at the catalog level.
Flow doesn’t have a native loop construct for bulk product operations. Its “Get products” action returns a maximum of 100 products per execution. If you’re running a flash sale across 280 SKUs, you’d need to chain multiple Flow workflows together, manually manage the logic across them, and hope nothing breaks at midnight when the sale starts. That’s the opposite of automation.
Here’s where the gap becomes concrete:
| Scenario | Shopify Flow | MESA |
| Tag up to 100 products on a schedule | Yes | Yes |
| Tag 50-250+ products across a collection | Limited | Yes |
| Loop over products with conditional logic | No native loop | Yes |
| Skip products that match a second condition | No | Yes |
| Fire a Slack or Discord alerts when tags are applied | Limited | Yes |
| Update a Google Sheet at the same time | Limited | Yes |
| Notify your 3PL or ERP on tag change | No | Yes |
If you’re already a Flow user and the 100-product cap isn’t your issue, Flow is fine for simple cases. But if you’ve ever had to babysit a campaign launch or clean up tags the morning after a sale ended, that’s the gap MESA closes.
How to set up scheduled tag changes in MESA
Both the add and remove workflows follow the same five-step structure. The only difference is step 4, whether you’re adding or removing the tag.
Or, try these free workflow templates:
MESA Template ID
schedule-shopify-product-tagging
MESA Template ID
remove-product-tags-schedule
MESA Template ID
remove-shopify-product-tags-set-date
Part 1: Schedule adding product tags
Time needed: 5 minutes
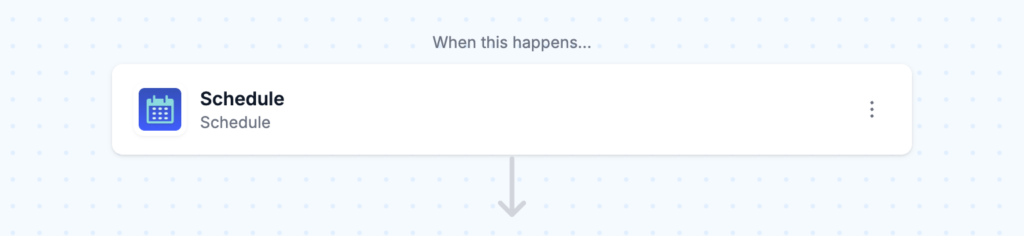
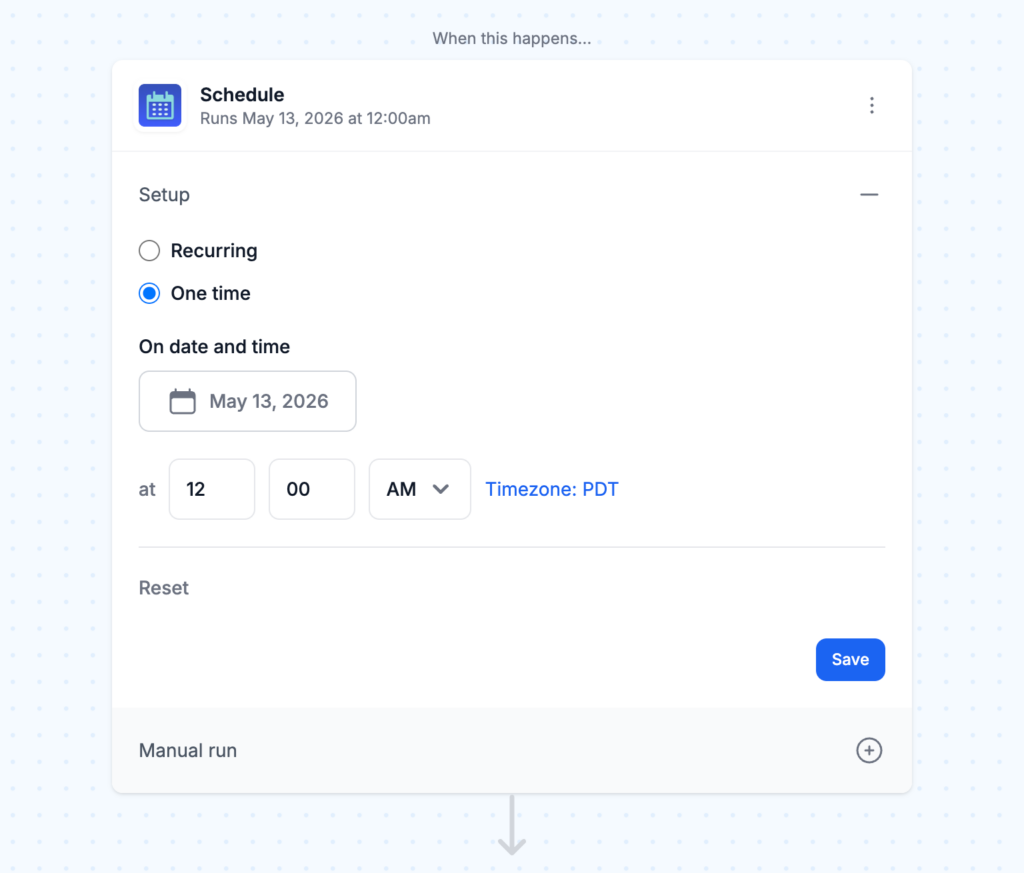
Step 1: Configure the schedule trigger
Set the date and time when you want tags applied. For recurring events (like every Monday), you can set a repeating schedule. For one-time launches, pick the exact datetime.
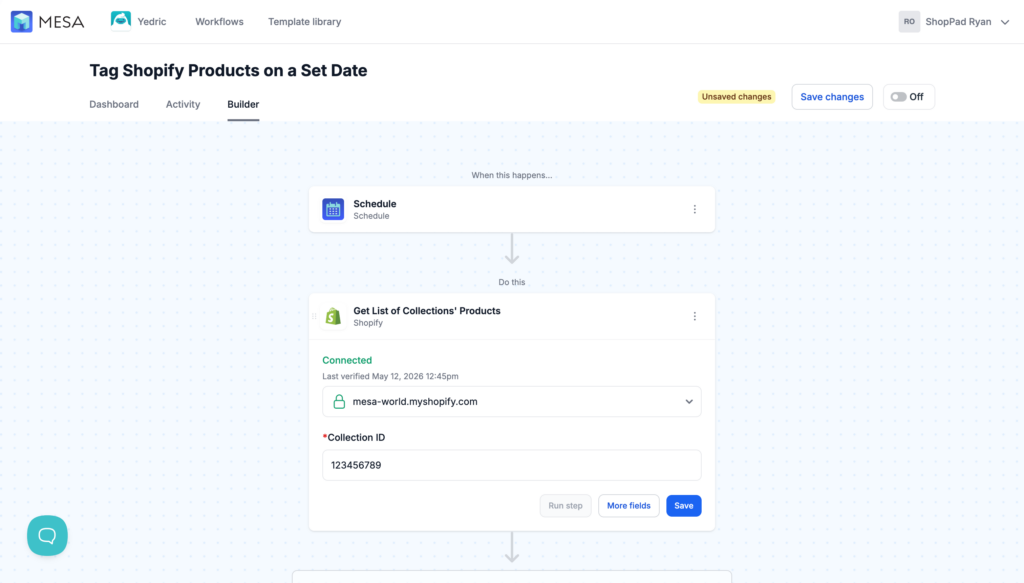
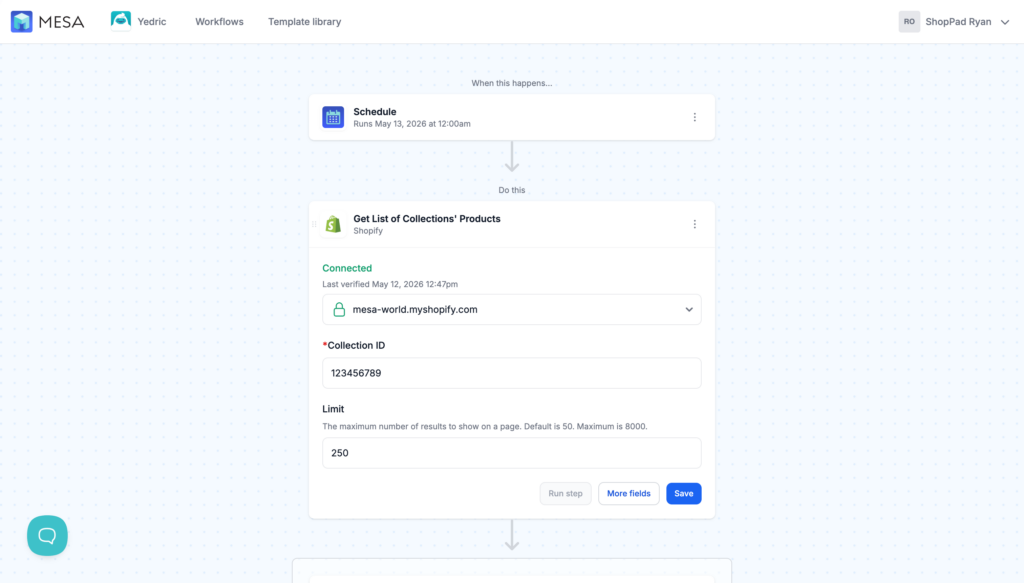
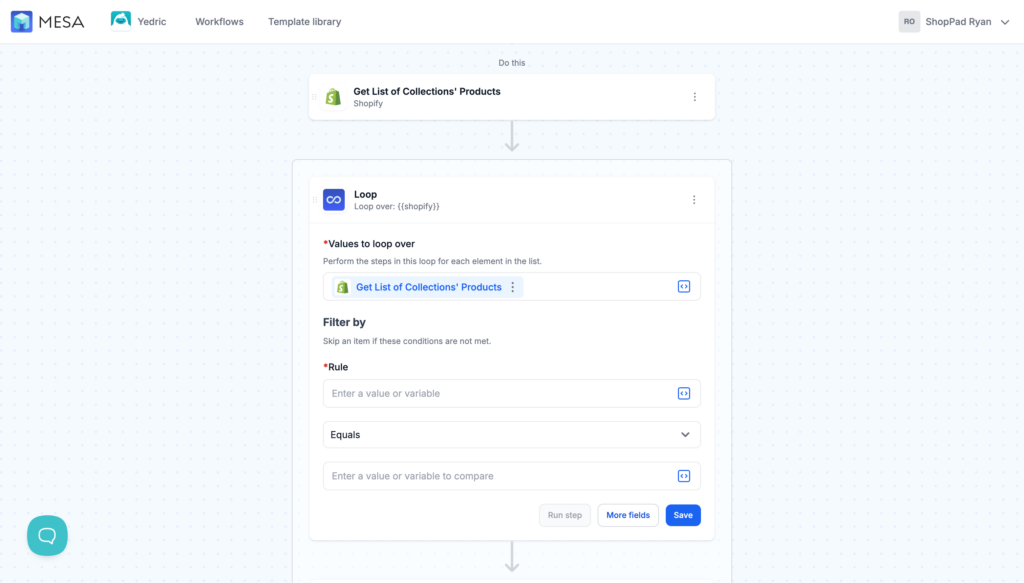
Step 2: Select your Shopify collection
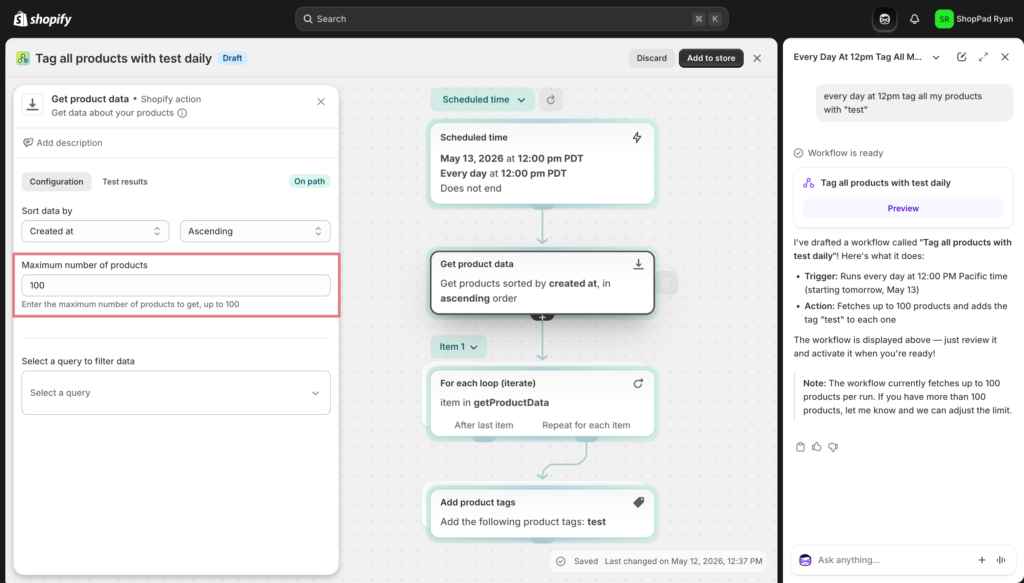
Specify which collection’s products should receive the tag. To process more than 50 products, click “More fields,” select the Limit field, and increase the number. You’ll need your collection ID. Find it by opening the collection in Shopify admin and copying the number from the end of the URL.
Step 3: Set up the product loop
This step processes each product in the collection one by one. Every product that matches gets the same tag applied consistently, no products skipped, no duplicates.
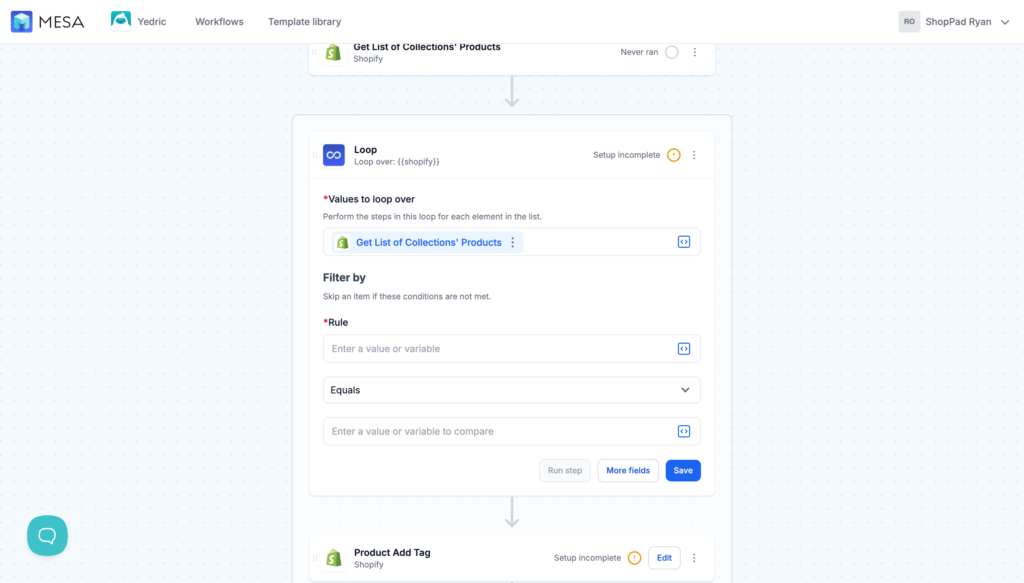
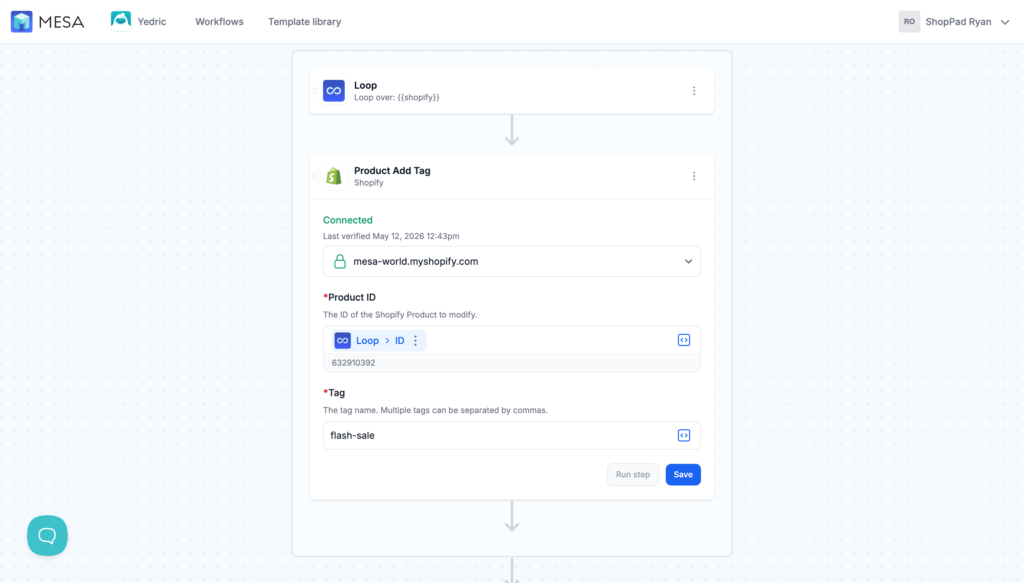
Step 4: Add the tag
Configure the “Product Add Tag” action. Specify the exact tag string you want applied (e.g., flash-sale, new-arrival, holiday-gift). Tag names are case-sensitive, so use the same format you use elsewhere in Shopify.
Step 5: Turn the workflow on
Toggle the workflow to “On.” Check the first execution to confirm tags applied correctly before a high-stakes launch.
Part 2: Schedule removing product tags
The workflow structure is identical. The only change is step 4.
Step 1: Set the removal schedule
Define when tags should be stripped. This is the moment your promotion ends, your season closes, or your pre-order period finishes.
Step 2: Fetch products from Shopify
This step pulls up to 250 products from your store to scan for the target tag. Unlike the add workflow (which targets a specific collection), the remove workflow searches more broadly to make sure no tagged products are missed.
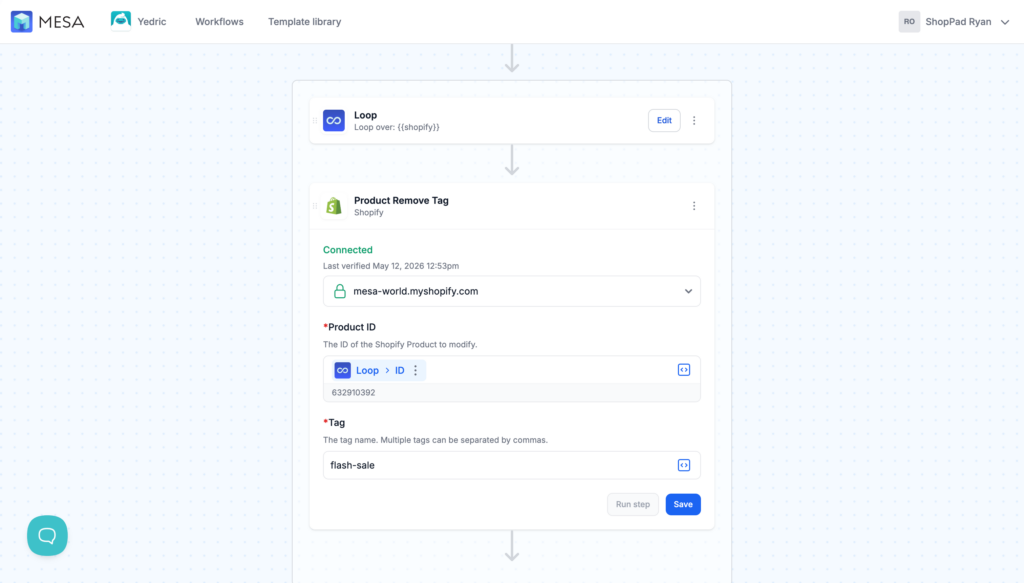
Step 3: Loop over products
The loop reviews each product and checks whether it carries the tag you want to remove. Only matching products move to the next step. Everything else is left untouched.
Step 4: Remove the tag
Configure the “Product Remove Tag” action with the exact tag string to strip (e.g., summer-sale, pre-order). This is the only difference from the add workflow.
Step 5: Turn the workflow on
Enable the workflow. The tag removal runs automatically at your scheduled time.
Running both as a full lifecycle
If you want to manage the full arc of a promotion, add at the start and remove at the end, set up two separate workflows and keep them paired:
- Workflow A (add): Schedule trigger on launch date, get collection products, loop, add tag, on
- Workflow B (remove): Schedule trigger on end date, get products, loop, remove tag, on
Name them clearly so they’re easy to find: [Campaign Name] - Add Tag and [Campaign Name] - Remove Tag.
You can set both up at the same time, weeks before your campaign starts. When launch day arrives, both workflows are already armed.
Tips for keeping this clean
Tag naming matters. Use lowercase and hyphens for consistency (summer-sale, not Summer Sale or summersale). A typo here means your collection filter won’t catch the products.
Test on a small batch first. Before running a workflow across 2,000 products, test it on a collection of 3 to 5. Check that the tag appeared correctly, then scale.
Check the collection ID carefully. For the add workflow, you specify a collection. The wrong collection ID means the wrong products get tagged. Copy it directly from the Shopify admin URL.
For removal: verify the tag string exactly. The remove workflow scans for an exact match. If your tag was applied as pre-order and you tell the workflow to find Pre-Order, it won’t match.
Frequently asked questions
Yes. Just set them to different times. Add at 8 AM, remove at 8 PM. They’re independent workflows.
The remove workflow fetches up to 250 products per run (maximum is 8,000). For larger catalogs, you may need to set up multiple workflows targeting different collections or run the workflow in batches.
Yes. Instead of a schedule trigger, you can use event-based triggers like inventory level changes or order events. The tag add/remove steps work the same way. Only the trigger changes.
Flow caps at 100 products per execution and has no native loop. For small catalogs and simple operations, Flow works. For anything at scale or involving systems outside Shopify, you’ll hit its limits fast. See the full comparison above.
See our Ultimate Guide to Shopify Tags for a full breakdown of tag naming conventions, collection logic, and automation strategies.